Last week I wrote about how to set up your centres for science. This week I would like to show you what they can look like in action.
It is too overwhelming for students to have to choose partners and choose a centre to work at, so I help them out with that part. I have a can on my desk that contains wooden sticks which are numbered 1-25 (these correspond with the students individual student numbers) and I have a can with wooden sticks upon which I have written the names of the centres. I randomly choose two number sticks and one centre stick! This can take some tweaking if either of the students have done the same centre before. Another way to tackle it is to have the students stay in the same pairs or groups for the entire unit, but choose the centres by pulling them "out of a can". I keep track of who is doing what on a clipboard, but you could also use a pocket chart or another method that works in your classroom.
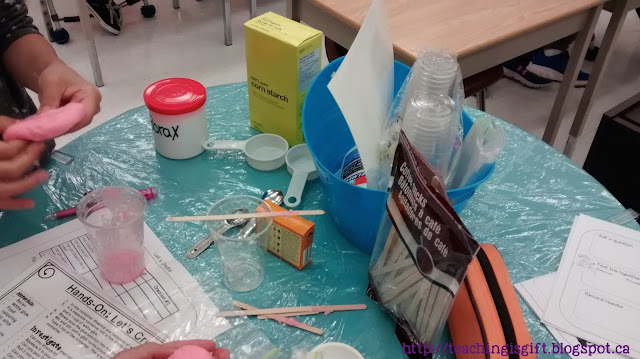
Students comparing two different forms of creations at the "Let's Create" centre.
The "Let's Match" centre is always fun for the students. This centre is especially challenging as the items can be matched in different categories, depending on the explanation.
The "Let's Read" centre helps build topic based knowledge the students can apply while working at the other centres.
Students using their critical thinking skills to complete the "Let's Analyze" centre.
Students enjoy working with a partner or a group, and they love the hands-on, mind-on aspects of the work in the centres we use. I find that most students need 1-2 periods to fully complete a centre. If they finish early, they work on the "Let's Inquire" research centre.


No comments:
Post a Comment