“Giftedness is not what you do or how hard you work. It is who you are. You think differently. You experience life intensely. You care about injustice. You seek meaning. You appreciate and strive for the exquisite. You are painfully sensitive. You are extremely complex. You cherish integrity. Your truth-telling has gotten you in trouble. Should 98% of the population find you odd, seek the company of those who love you just the way you are. You are not broken. You do not need to be fixed. You are utterly fascinating. Trust yourself!”

Linda Silverman~Gifted Development Center Denver


Sunday 13 December 2015

A Little Holiday Cheer....


Every single year I think to myself that I should post my holiday craft ideas leading up to the Christmas holidays...and every year, I run out of time, or I forget to take pictures or I get sick....

So this year here is what has been going on in my fifth grade classroom!

I decided to make the borax snowflakes with my class. We have just finished our unit on matter and materials and this fit in perfectly. 

Materials Needed:
  • One box Borax (I got mine for $4.50 at Great Canadian Superstore, but they also sell it at Metro and Walmart)
  • Large red cups (I got mine 18 per package at Dollar Tree)
  • Package of pipe cleaners (Dollar Tree)
  • Package of popsicle sticks (Dollar Tree)
  • Package of ornament hangers (Dollar Tree)
  • Boiling Water (I have a kettle for classroom use)  YOU MUST SUPERVISE THE USE OF THE BOILING WATER.  I poured it for each student.
  • Measuring spoons
  • Wooden spoons for stirring


After assembling all the materials needed, I gave each student a cup, a pipe cleaner, a wire ornament hanger and a popsicle stick. The students cut the pipe cleaner into 3 equal sections and then twisted to make the snowflake shape.  I had them hook the top part of the snowflake over the wire ornament hanger.  


I worked directly with the students to create the snowflake solution. Students were called up to the counter area in pairs.  I poured a cup and a half of boiling water into each cup.  Students did NOT touch the cups at any point.  Students measured 4 1/2 tablespoons of Borax into the hot water, stirring with a wooden spoon after each tablespoon was added.  They need to make sure each tablespoon is dissolved, before they add the next one.  After dissolving the 4 1/2 tbsp. of Borax into the hot water, students hung their pipe cleaner snowflake from the popsicle stick and lowered it into the solution.   I moved the still hot cup into our "snowflake nursery" and students left them over night.  


In the morning, I called up each student individually to unveil their special snowflake.  We placed them on paper towel to dry completely.  Above you can see the snowflake I made at home to test out my methods.  I think it turned out quite well, and I learned a lot about the process by trying it out myself first.


A sweet friend had given me these wonderful felt lined, silver tins (telling me she knew I would come up with some wonderful craft to do with them).  I realized they would be perfect for putting the finished ornaments in.  I know my students will be thrilled to give a special someone their handmade ornament for the holidays.

Another craft I like to do, and have done many, many times with students is to create a plastic canvas box which can become an ornament or just a keepsake.  I used to be able to find plastic canvas at most craft stores or at Walmart in the craft section, but for the last few years it has been impossible to find it in those stores. Dollar Tree to the rescue again!  I buy up to 10 sheets at a time when I see it, and I have quite a stash in my craft box.  

I have the students pre-cut the large sheets of plastic canvas into squares which are 15 by 15 holes.  They do the "sewing" using special needles created for crafting with plastic canvas.  Again, I have bought them when I find them and have quite a large collection available.   These needles are ridiculously expensive if you buy them online from the U.S. but if you can find them while you are travelling or if you find them in a craft store, grab them!


If you are familiar with plastic canvas, you will recognize the simple pattern I teach the students.  They create a different four square pattern on each of 6 squares of plastic canvas.  I allow students to choose the wool colours and designs they like.  After they have created all 6 squares, I teach them to sew it together using another colour of wool (such as black or another solid colour).  The lid is sewn in such a way that it has a hinge and can open.  We finish the project up with a festive pom pom (from Dollar Tree) and if it is going to be hung as an ornament, we add a ribbon loop.  This is a keepsake that the students love creating, year after year.


A final fun to do craft is the snowmen with the LED light up noses. I can't take credit for the photo or the idea...but you can find the instructions to make these super cute ornaments by clicking on the image above.  I changed up the instructions a few years ago by using "googly eyes" for the eyes on the snowmen and they look super cute.  I have purchased the LED candle tea-lights from Costco in a HUGE package several times, but if you cannot find them there, they are available at stores such as Dollar Tree in packages of two.

I just love the holiday season.  Here are some shots of my classroom so you can see how into the spirit I get each year!  

The door to my classroom.  Love this!


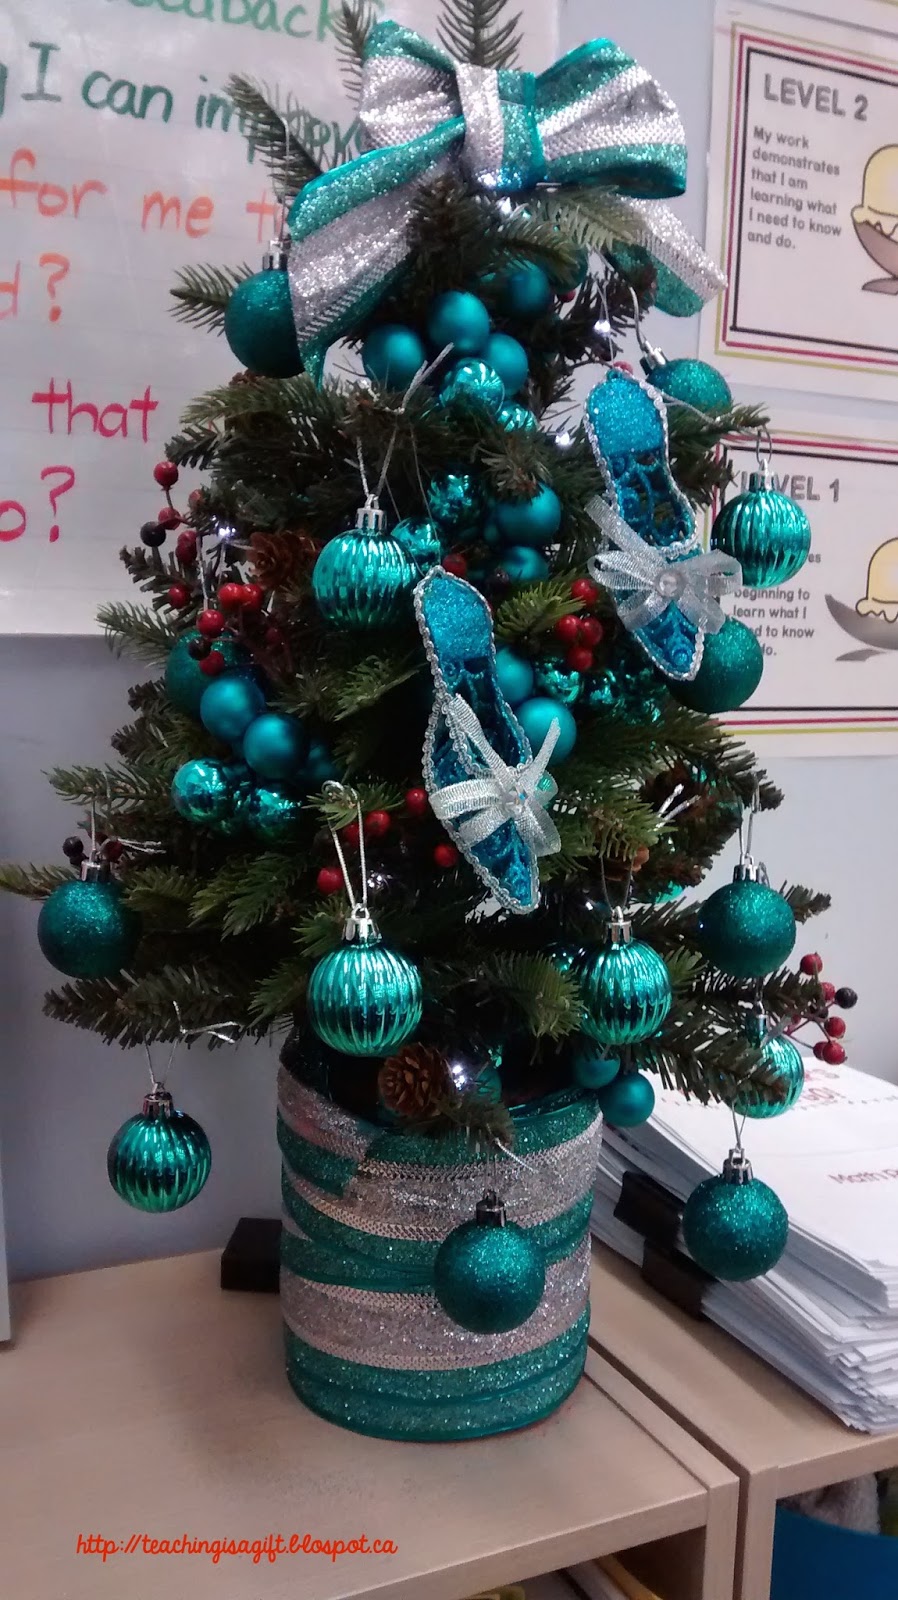
The "Tiffany" blue tree behind my desk.


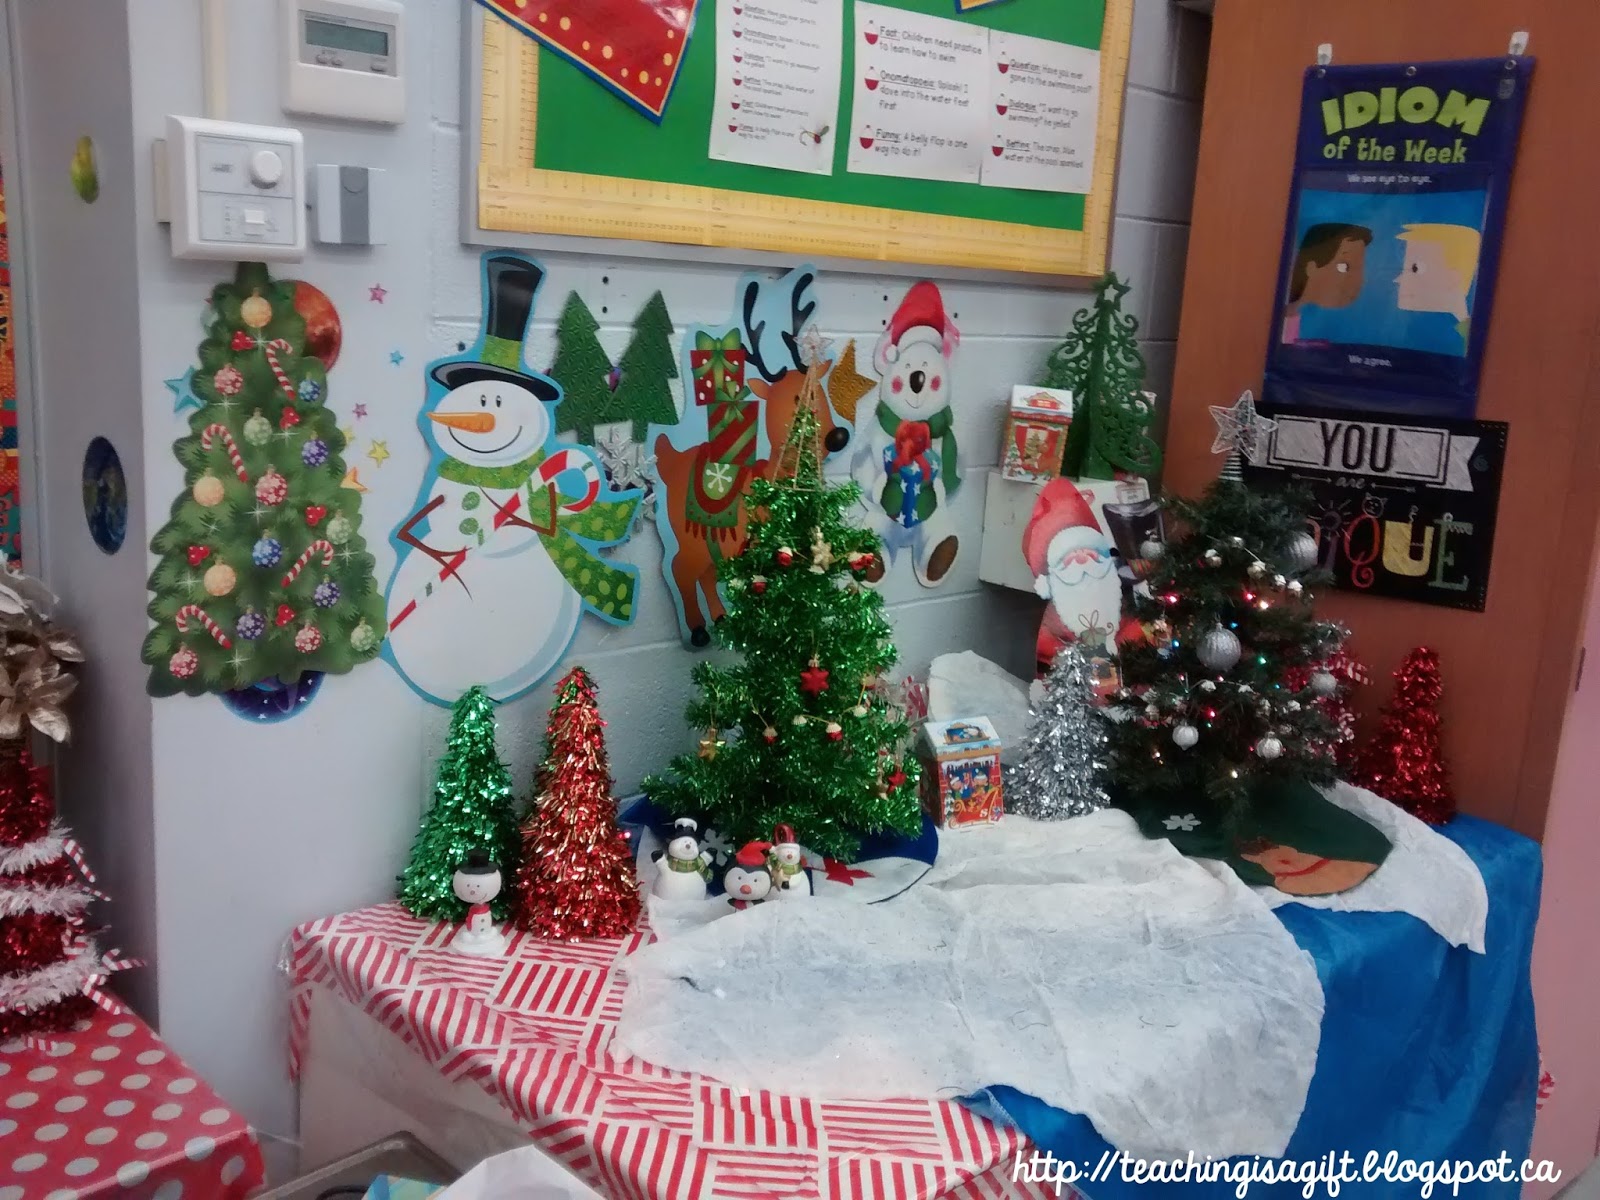
 The little trees in my room (before I got the lights to work!).  I hang the critter ornaments you see below on these the week before the holidays.  On Friday, each child will get to take home their special friend.


I hope you have a wonderful week with your students leading up to the holidays, and enjoy your time with friends and family during your break.


Sunday 11 October 2015

Something sweet for Thanksgiving


Picture of Happy Thanksgiving at Teachingisagift.blogspot.ca

It's Thanksgiving weekend here in Canada and I can't stop thinking about FOOD.  I love to roast a turkey, make cranberry sauce from scratch, mash potatoes and rutabaga, and bake some stuffing (this year I am doing some gluten free too, of course).  Last week at school we had our annual Thanksgiving luncheon and I took a vegan, dairy free, gluten free pumpkin pie that was to die for. There is a new gluten free bakery in my neighbourhood called Whisked and they make awesome bread, cookies and pies.  Something about fall just makes you crave delicious treats. 

If you live in Toronto be sure to check out all the awesome 
gluten free goodness at Whisked.


With food and report cards on my mind, I whipped up these levels of achievement posters.  I know I am not the only one who loves food, my students do as well.  I have been using the ice cream sundae analogy for many years to describe what work looks like at different levels.  I decided having a great visual would help me better explain the concept to my class, and would allow me to refer to it all year long.

4 Picture Levels of Achievement Posters Ontario Curriculum @ Teachingisagift.blogspot.ca


 I know the idea of using the ice cream sundae is not unique in classrooms across the country.  What I wanted though, was to create a set of posters which teachers could modify to suit the needs of their own classrooms.  Sometimes the language we create a poster or anchor chart with just doesn't work for another group of students in another classroom, or for a particular group of students, or even for the task at hand.  


Picture of 4 Levels of Achievement Posters Ontario Curriculum @ Teachingisagift.blogspot.ca

Each poster includes a yummy visual depicting one of the levels of the Ontario Achievement chart.  For these posters I have used student friendly language which I have found works in my classroom with junior students. But have you ever purchased something like these posters and you just wanted to tweak something?  Or you love the graphics and the concept but the way the author created the posters just doesn't work for your class? With that in mind, I made this set of posters so that teachers can make each level say exactly what they know will work their students.  

Picture of 4 Levels of Achievement Posters Ontario Curriculum @ Teachingisagift.blogspot.ca

Each poster set includes two versions.  One has my wording on them and the other set allows you to create posters which say anything you wish.  When you open up the PDF file you will see blue boxes on the slides which are editable.  No need to worry about downloading and matching fonts.  The posters have the font embedded in the file so they match the headings on each poster. Simply type the wording you want into the box, and voila, you have your own personalized version of the poster.

Picture of 4 Levels of Achievement Posters Ontario Curriculum @ Teachingisagift.blogspot.ca

You can get your own set of posters by clicking on any of the images above or by clicking HERE.  

I hope you are having a wonderful weekend, whether you are celebrating Thanksgiving or Columbus Day.  Enjoy time with family and friends.


Saturday 26 September 2015

Keeping busy! Bouncy Bands help students focus!


Some days I find it hard to believe that I have been teaching for almost 25 years.  Things have changed a LOT in that time.  I am also amazed at all the great things we can add to our repertoire to assist the students in our classrooms.  The past few years I started using Therabands around the chair legs to help students who need to move a lot.  I am a certified Pilates instructor and I had an extra Theraband roll so I tried it out....similar to the picture below.


That only lasted a short while for students who were active leg movers.  The bands quickly wore out and had to be disposed of. Last year, I was at a local dollar store and saw some resistance bands which I thought might work better.  I put one on every chair in my classroom and my students loved it. Having the bands on the chair legs allowed those who needed to move a way to get out excess energy without disturbing myself or others in the classroom. You can see the resistance bands on the front legs of this student's chair.

Picture of Bouncy Bands on desk legs http://teachingisagift.blogspot.ca

The resistance bands are great, but over time they break and have to be fixed (short term) or replaced.  As I have purchased these items with my own money, this is not a cost effective option in the long run.  

Enter Bouncy Bands.  
Picture of Bouncy Bands on desk legs http://teachingisagift.blogspot.ca

Scott Ertl the creator of the Bouncy Bands was kind enough to send me a few samples to try out in my classroom. Scott Ertl is an elementary school counselor in Winston-Salem, North Carolina. He created Bouncy Bands to help students at his own school to have a way to move when they worked so they wouldn't have to stay trapped at their desks for 5-6 hours a day. He wanted to help them be able to stretch their legs, bounce their feet and prop up their feet instead of having them dangle all day from their chair.


I chose to put the bands on the desks of the students who seemed to benefit the most from the resistance bands.  I asked the students to try out the Bouncy Bands and give me feedback at the end of the week.  The students said that they liked that the bands allowed them to "bounce" their feet, rather than push against the resistance bands.  I felt that adding the Bouncy Bands to the desk legs would allow students the choice of bouncing their feet, or pushing against the resistance bands.  There was no clear winner for the students, but for me, I felt that the durability and therefore longevity of the Bouncy Bands would make them superior in the long run.  I would love to be able to raise enough funds to purchase a classroom set of the Bouncy Bands which go on the chair legs.  These would be similar to what I have created with the resistance bands, but much more durable.

Picture of Bouncy Bands on desk legs http://teachingisagift.blogspot.ca
If you live in the U.S. you can apply for classroom funding to purchase Bouncy Bands through Donor's Choose.  Scott has included more information about filling out a Donor's Choose application here.  I wish there was something like this for Canadian teachers as well!

If you decide you would like to purchase some Bouncy Bands for your classroom you can use code "15OFF" at checkout.  


Saturday 19 September 2015

Week 2 in the bag!

Here are a few things we were working on this week!


We took these ^^^^^^^^


Picture of Growth Mindset Tree from teachingisagift.blogspot.ca

And started creating this ^^^   
   
That is our "growth mindset" tree.  By the end of the day, Friday we had lots more leaves and many more apples added to the tree.  I love the way our tree is continuing to "grow".  Now, I just need some text to add to wall.  I am thinking something like "Watch Our Growth In Grade 5".  Still pondering on other options.  If you have a suggestion I would love to hear about it in the comment section found at the end of the blog post. 

In Science and Technology, we started our unit on Properties of and Changes in Matter this week.  I loved teaching the students this song.


This is a great Youtube video of a family singing this song which I shared with my class after I taught them the lyrics.  


In language arts I have been reading aloud one of my favourite novels of all time. This year the book is celebrating it's 50th year! The Phantom Tollbooth by Norton Juster was first published in 1961. It has wonderful black line illustrations created by Jules Feiffer. This is the adventurous story of a bored young boy named Milo who is unexpectedly gifted with a special tollbooth one afternoon and, having nothing better to do, decides to drive through it in his toy car. The tollbooth soon leads him on an exciting trip to the Kingdom of Wisdom. Along the way he meets Tock who becomes a faithful companion. There are lots of wonderful, highly imaginative characters in the book and the text is full of puns, and many events, such as Milo's jump to the Island of Conclusions, which I love to use to help students to better understand the literal meanings of popular English language idioms.  It is a wonderful way to introduce figurative language to my class.


In writing I introduced "Paragraph of the Week".  This has to be one of the best purchases I have ever made.  I discovered it last year when I was looking for a way to help my students improve their writing skills, starting with basic paragraphs. 


The day by day format is really easy to use.  This week I started out by modelling each day using my document camera.  I project the page each day, and demonstrated how to write each step of the process.  

For the brainstorming, I projected this page and then showed the students how I could create a WEB in the middle of the page to help me brainstorm all my ideas.  
On Tuesday, I demonstrated how to take three details from the brainstorming and start to write detail and explanation sentences which will form the body of the paragraph.


On Wednesday we talked about how to form a topic sentence and how it should HOOK the reader!  Using the document camera, the students helped me go back over the details and explanation sentences from the day before.  From there they helped me to form my topic sentence.  We took a break at that point and students were given time to reread their own work, and to start drafting their own topic sentences.  They also had a chance to share their draft topic sentences with a peer.  After they had finished the topic sentences, I modelled how to read the topic sentence, the detail and explanation sentences aloud to start to create flow.  This helped me model how to form the closing sentence.  We didn't want to repeat what I had said in the topic sentence, but we did want to summarize what he had written and "mirror" what we had said in the topic sentence.  The students gave me many excellent suggestions.

On Thursday, I modelled how to start putting the whole paragraph together.  Using the document camera again, we started by writing the topic sentence, and then adding the detail and explanation sentences.  I modelled for the students how the writing process can be messy, by showing them that some of my detail sentences and explanations were choppy and did not flow together.  We discussed revising as we wrote, and adding in transition words.  We will follow up with my directed lessons on transition words in coming weeks.  I finished my modelling by adding the closing sentence, and I let my students know I was still not satisfied with what I had written, but I would think about it for awhile and revisit my writing later.  

One thing I do with my students is give them time on Friday to peer revise and edit.  After they have had time in class, they take home their paragraph folder, and complete a "good draft" which they submit to me on Monday morning for assessment purposes.  I have already reviewed the success criteria with the class, and have given them a copy of the rubric provided in the package.  

I actually really enjoy assessing the student work, knowing I have worked along side them during the writing process.  Each day, I have tried to provide feedback and encouragement as they complete the daily tasks in class.  I tailor specific lessons to meet the needs of my students based on what I observe in their writing.  Last year, the lesson on writing an effective HOOK were a real eye opener for the students and for myself.  

Finally, I thought I should mention another one of my monthly favourites for math.  It's called Math by Month and it was created by my sweet friend Jennifer Runde (yes, the one who created the wonderful Back to School Craftivity and the FAMOUS Interactive Math Notebook).  


Like Jen, I use these posters as a take-home activity once a month where the students work on the posters at home, after I have explained the concepts included and reviewed the success criteria and rubric (which Jen includes).  The students demonstrated excellent perseverance completing their September poster. 

We had three fire drills this week, we got outside to practice soccer and cross-country running, the students had music twice and continuing to work on their desk mats for art.  It was a busy, fulfilling week!
You can read more about this project HERE


Sunday 13 September 2015

What a week! Starting the year off right!

Well I survived the first week back!  On day one I used my revised, editable Essential Questions activity and it went really well.  I love the new look of the speech bubbles!  The students loved that they could get up and move around, read the prompts, give their honest reply and read what other students had to say.  I had these chart papers spread out around the room for the first two days...and then on the third day I consolidated them on an empty bulletin board.  I want students to be able to continue to read them until we have new work to go on the boards.  If you would like to grab your own copy to use just click on the image below.


On the second day we completed our first Currently for the year.  If you read my blog, you will know I sometimes complete the template as part of Oh Boy in 4th Grade's monthly linky.  I purchased her templates several years ago and started using them with my students.  Students complete the template each month and after I read them myself, I post them on clipboards in the hallway outside my classroom.  It is a very popular board, students from all over come to read what my students write each month.  We all get to learn more about each other!  


On Thursday and Friday, we put together our Back to School three dimensional apples.  It was a great way to start the discussion about growth mindset.  Students wrote their responses, and decorated and put together their apples over the two days.  I spent most of Friday creating a large wall sized tree.  I had seen the idea of making one with brown butcher paper, so with the help of a colleague, we have created the tree and branches.  Next week, we will need to add some leaves and hang the apples.  I will be sure to come back and share some pictures of the finished product.  In the meantime, here are the apples...


What's next week look like?  I am going to introduce my Back to School math task cards to my class.  You can get your own copy of these Ontario curriculum aligned task cards by clicking on the image below.


I started using task cards for math several years ago, and I find the students are much more motivated to complete the questions when they are allowed to get up and move around.  I ask students to start at random cards around the room and move about completing the problems.  Students are allowed to use calculators and manipulatives to help them solve the problems.  They often grab a clipboard to help them record and off they go!  Students stop and talk to each other, they discuss and debate their answers and when they have completed the problems, they come to me to have them marked.  Using task cards allows students to work at their own pace, and allows me to review and discuss errors or misconceptions with individual students.  It is a great way to differentiate instruction.  Those who are strong in math are able to demonstrate mastery quickly.  I have additional tasks for these students to complete.  Students who need more time or assistance can receive both.  It's a win-win situation.  As a teacher, I get to see student strengths and where students struggle.  I am able to adapt my instruction to address their needs individually, in a small group or even through whole group instruction.

How was your first week?  I would love to hear about all the awesome things you are doing in your classrooms!